Travel2School app - understanding your My Smartcards page
Select the Travel2School app on your mobile device and login to the app.
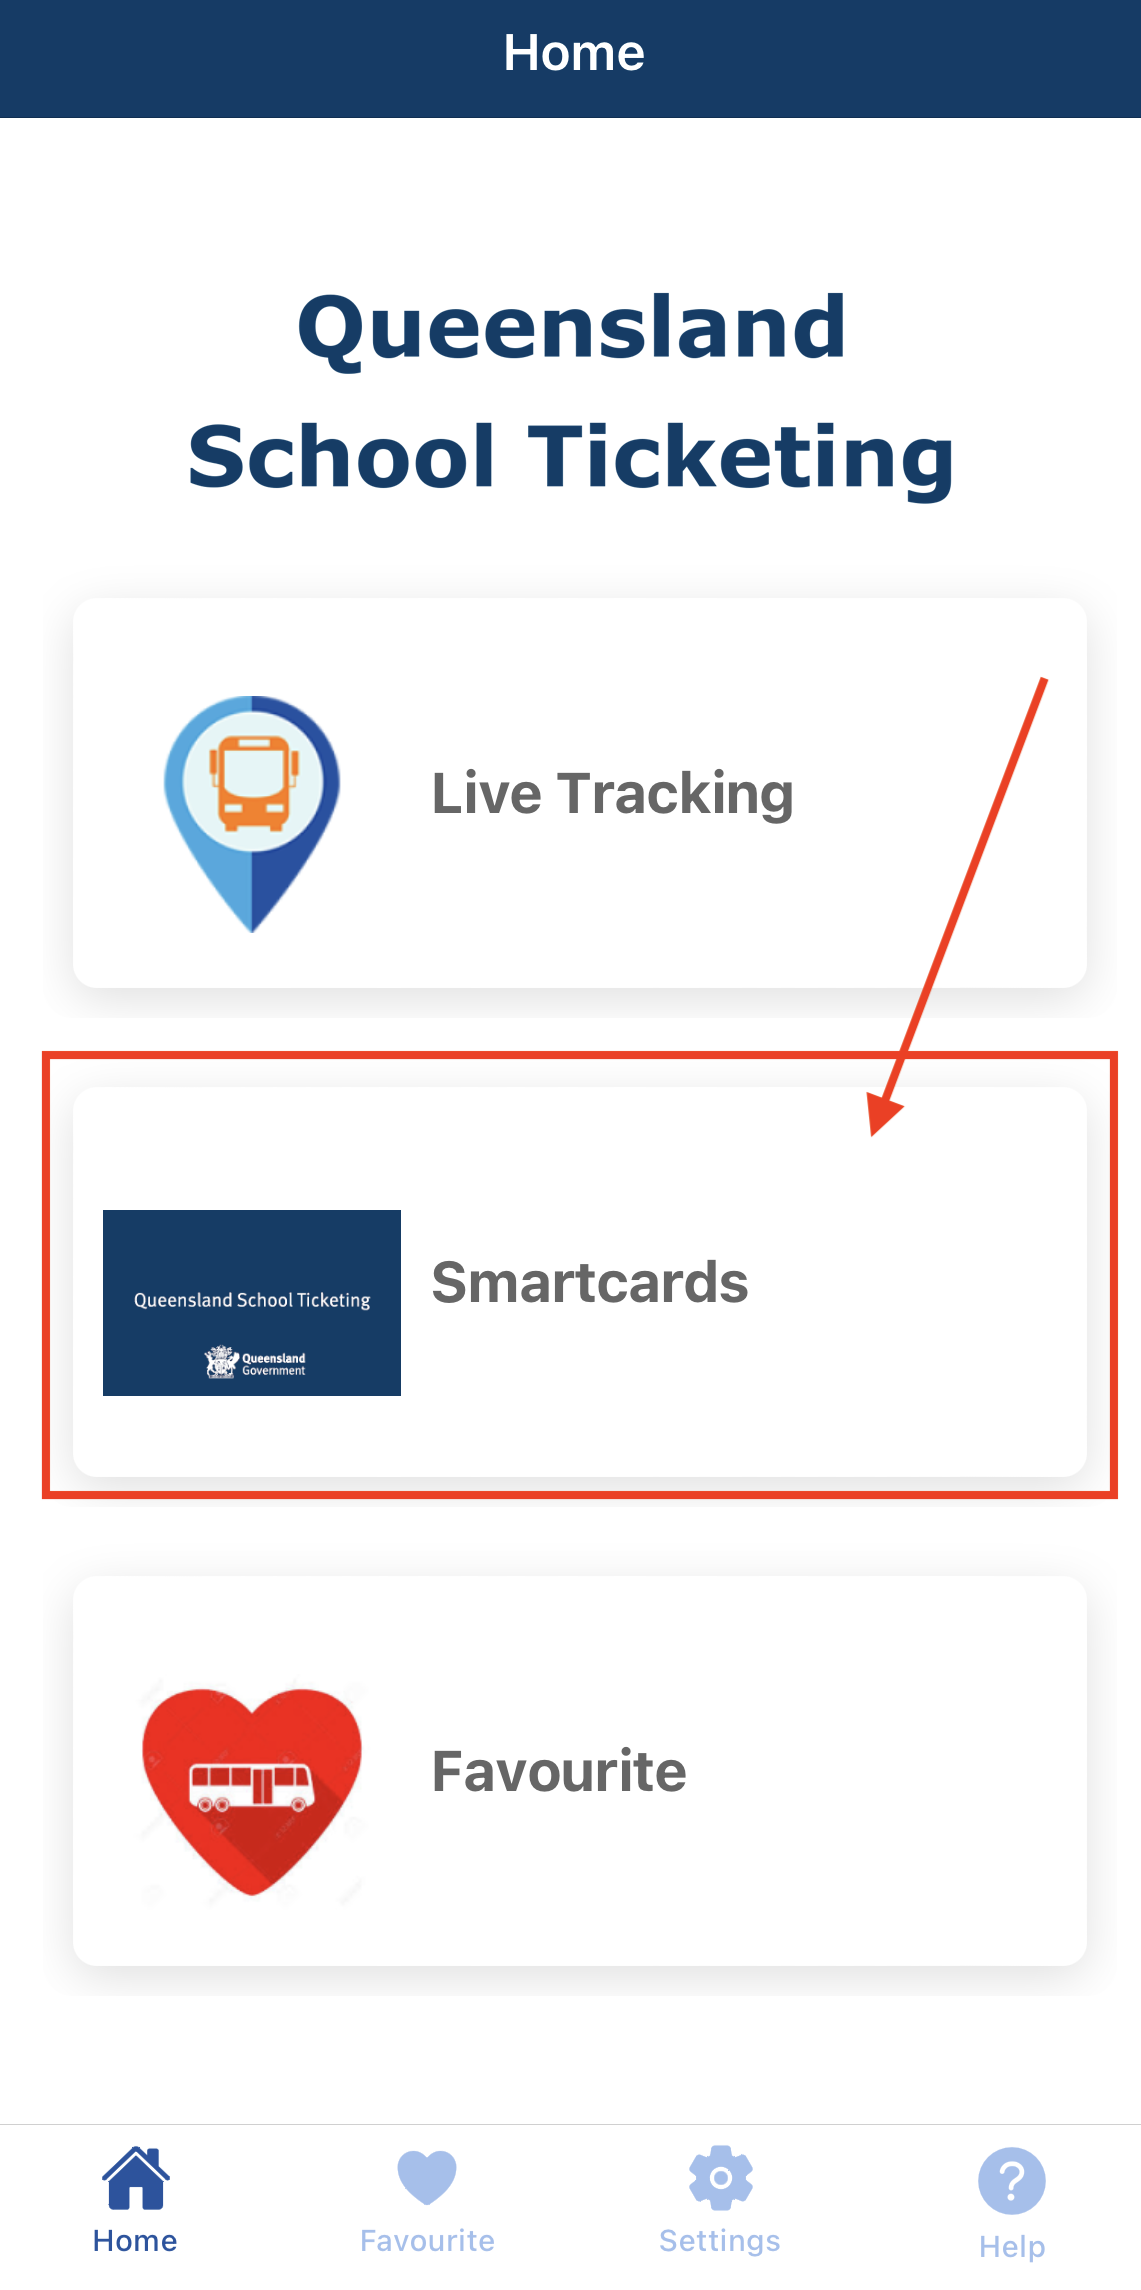
On the Home page, select the Smartcards button.
On the My Smartcards page, a list of your linked smartcard(s) is shown.
On this page, you can:
Link a smartcard:
Select the Add your first smartcard button or the plus sign button to start to link your new smartcard.
More detailed information on this topic can be found here.
Search smartcards: locate your smartcard using the search box when you have multiple smartcards added to your account.
Linked smartcard details: select the smartcard or select the arrow down button to expand the details of the selected smartcard.
Add Fund:
Select this button when you want to add funds manually to the selected smartcard.
More detailed information on this topic can be found here.
View Transactions details:
Select the button open Transaction details page of the selected smartcard.
More detailed information on this topic can be found here.
Replace Card:
Select vertical ellipsis symbol on the selected smartcard and select the button to replace this card with a new blank smartcard.
More detailed information on this topic can be found here.
Remove Card:
Select the vertical ellipsis symbol on the selected smartcard and select the button to remove this smartcard from your smartcard list.
More detailed information on this topic can be found here.
Live tracking: when the smartcard is tapped on a bus, there will be a bus icon shown next to the applicable smartcard. By selecting the bus icon, you can view on a map the current location of the bus which the smartcard was tapped on. This icon will disappear when the smartcard is tapped off the bus.
Did this answer your question?Thanks for the feedbackThere was a problem submitting your feedback. Please try again later.